

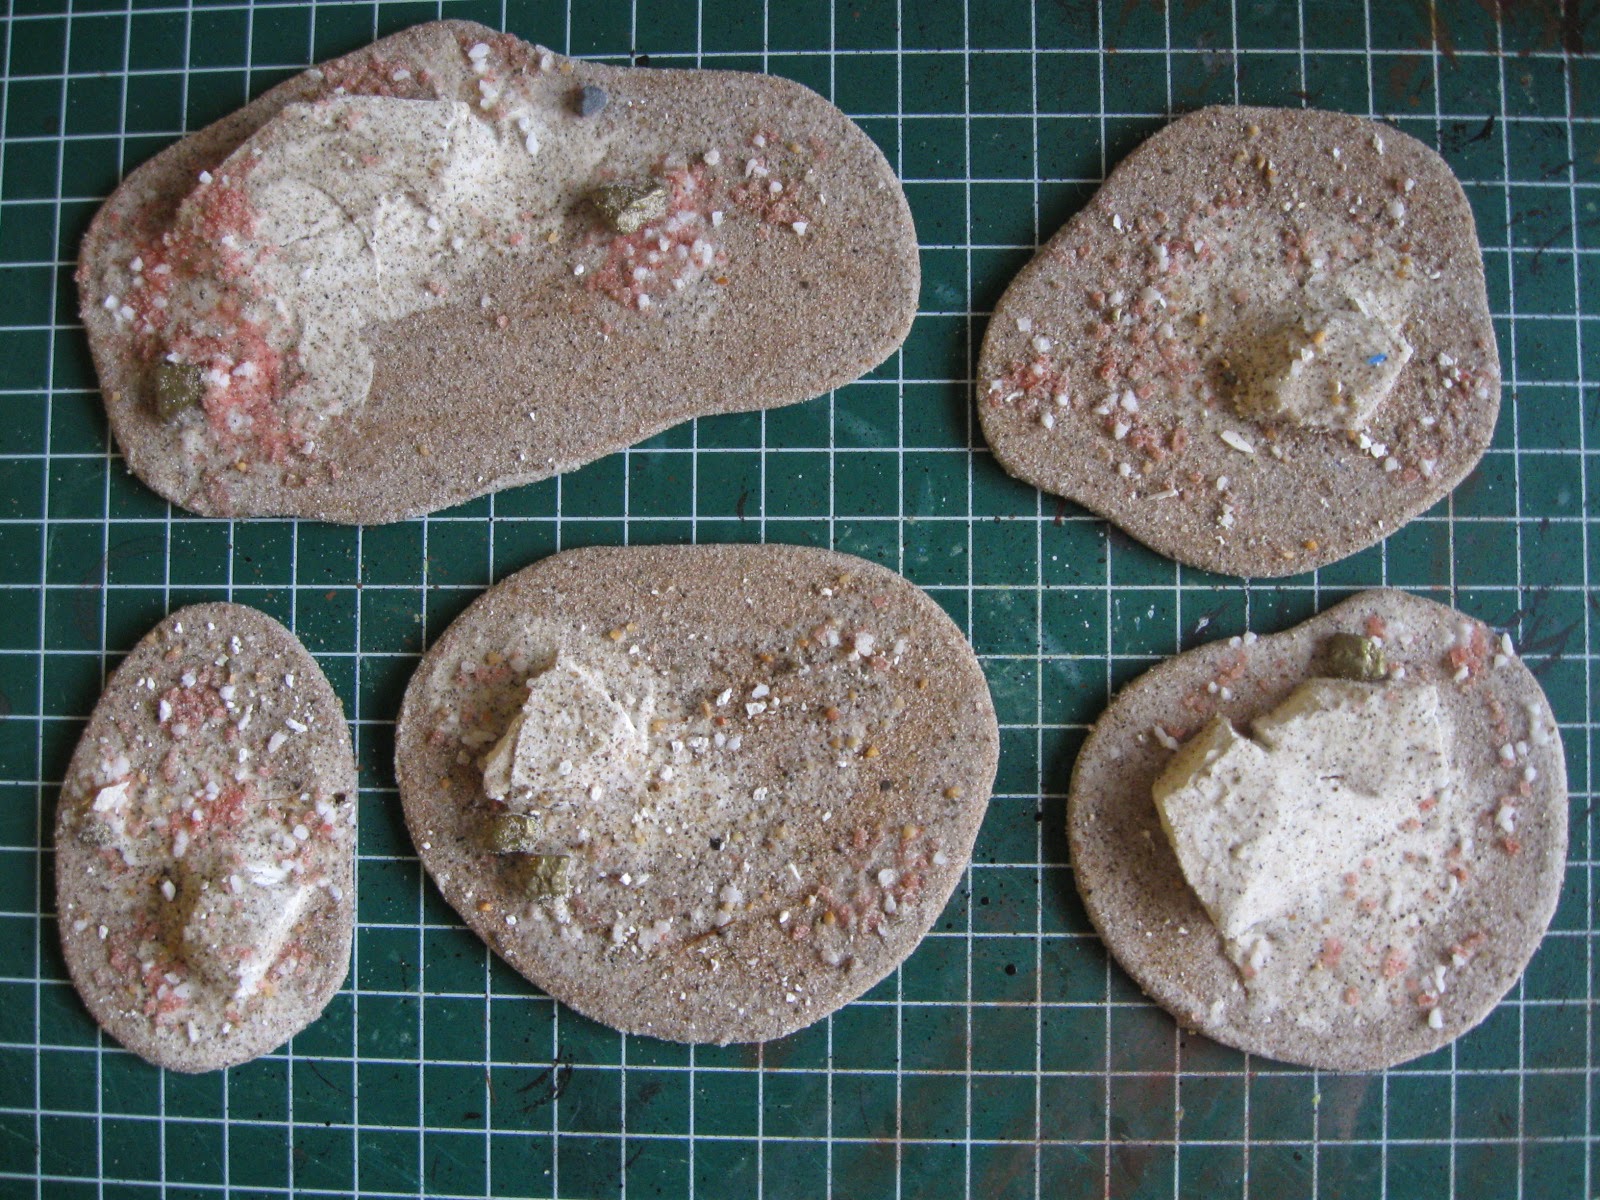
The first step of this snowy pine forest base tutorial is cutting out the irregularly shaped wooden bases. The type of wood that I used to create these small bases is 3mm thick medium density fibreboard because it’s quite durable and yet easy enough to sand and saw using either a hand saw or electric jigsaw. As the aim is to create bases sufficient enough to contain several large and small pine trees I opted for roughly the following sizes and shapes as you can see in the picture. The squares on the cutting mat are one by one centimeters.


Using my trusty mounted electric jigsaw, I cut out five irregular shaped bases in no time. Then I sanded the edges of the wooden bases, you can easily skip this step but sanding the edges really makes the terrain blend into the tabletop. So I roughly sanded the edges using a wood file followed by some sanding using medium-coarse sandpaper. That done you can go on and add some texture to the bases.
To add some more character and texture to the bases I added some plaster rocks to break up the plain look. These plaster rocks are nothing more than a casted sheet of plaster, broken in small pieces. Dirt cheap and really useful as you can easily use them to make rough primitive stonewalls or use them to add a rocky finish to foamboard cliff edges. Just make sure to let them dry enough after casting, I made mine in bulk and they dried around three days before first use.
You can glue these rocks on the wooden bases in a random pattern using plenty of wood glue. After the glue has dried you can now use ready-made filler to create a gentle transition between the rock and the base. I generously apply the filler using a wooden craft stick or lollipop stick and smooth out the filler until satisfied with the look. Hard to explain this step but slap some filler between the rock and base and make sure to not entirely cover your rock!

When the filler is dry you can now add coarse sand and a variety of stones. To add these textures, I cover the entire base excluding the rocky side of the plaster rock with diluted wood glue. Then I add the large rocks (the golden ones in the pictures) followed by some smaller stones and after that I cover the entire base is a mix of rough sand. Before you take these steps make sure to cover your working area with old newspapers as texturing is a messy step! When dry you can start painting the bases.

I went for a rocky paintjob so I basecoated the entire base in a medium grey, it actually took two basecoats. When the basecoats are dry, I simply drybrushed the heavily textured base with a light grey to add some natural highlighting. And that’s it, paintjob already finished.
The next step is to add the snow to the snowy pine forest bases. To create snow there are many products available but I took the easy way and went for the baking soda approach. Some may already shiver of fear because of tales of yellowing snow and so on. These tales may be true but taken that in account, I still went this route as it’s cheap and easy to obtain the necessary materials. The materials I used for my method water, wood glue and baking soda. These materials where mixed to a paste like consistency using a wooden craft stick and applied with the same stick in random patches. I didn’t added the snow paste in areas where I intended to place the pine trees. When the paste was still wet, I generously applied a layer of baking soda over the paste and left it to dry over night. The following day I shook off the loose baking soda or snow if you prefer to name it that way. The result is a sturdy snow looking finish, you can then probably varnish the bases but I skipped this step. If the baking soda yellows over time, I can simply give it a white basecoat or two.

The last step is to add the snowy pine trees, these can be bought from a variety of suppliers but mine were bought very cheaply after last Christmas and were of the Lemax brand. I pulled them of their plastic bases and glued them in place using a hot glue gun. So when that’s done you’re finished and can use these nice snowy pine forest bases on the wintry tabletop! I hope you enjoyed this short tutorial and hope I have inspired you to build some cheap and easy terrain yourself! Stay tuned as more wintry tutorials will follow soon in preparation for Frostgrave, the upcoming wargame by Northstar Miniatures and Osprey Publishing.


No comments:
Post a Comment